
When a sudden storm pounds your home and you spot a leak, panic can set in fast. But taking calm, thoughtful steps can dramatically reduce water damage—until Upgrade Home Improvements arrives to fix the problem properly.
1. Start with Safety—It Matters Most
Before doing anything, ensure both people and property are protected. Don’t climb up on a wet roof—that’s a recipe for disaster. Instead, head into your attic or survey the ceiling for water stains or sagging areas. Remove any furniture, electronics, or valuables from rooms below the leak, and cover those spaces with plastic sheets or drop cloths. If you notice a bulging ceiling—often called a water bubble—use a screwdriver to make a small hole right in the center. This controlled drip into a bucket prevents the ceiling from collapsing later Equip yourself with non‑slip shoes, gloves, and a secure ladder for this process.
2. Contain the Water Inside—Simple but Effective
Once everyone is safe, it’s time to capture the water. Position sturdy buckets or pots below each drip and line them with old towels to quiet the dripping sound. If the leak intensifies, swap containers regularly to avoid spills. On calmer days, consider attaching a flexible tube to a bucket so you can siphon water outdoors—keeping interiors dry and cleaner. Meanwhile, protect floors and carpets with plastic tarps. These basic efforts can significantly reduce cleanup and prevent mould growth later.
3. Tarp the Outside—Temporary Roof Protection
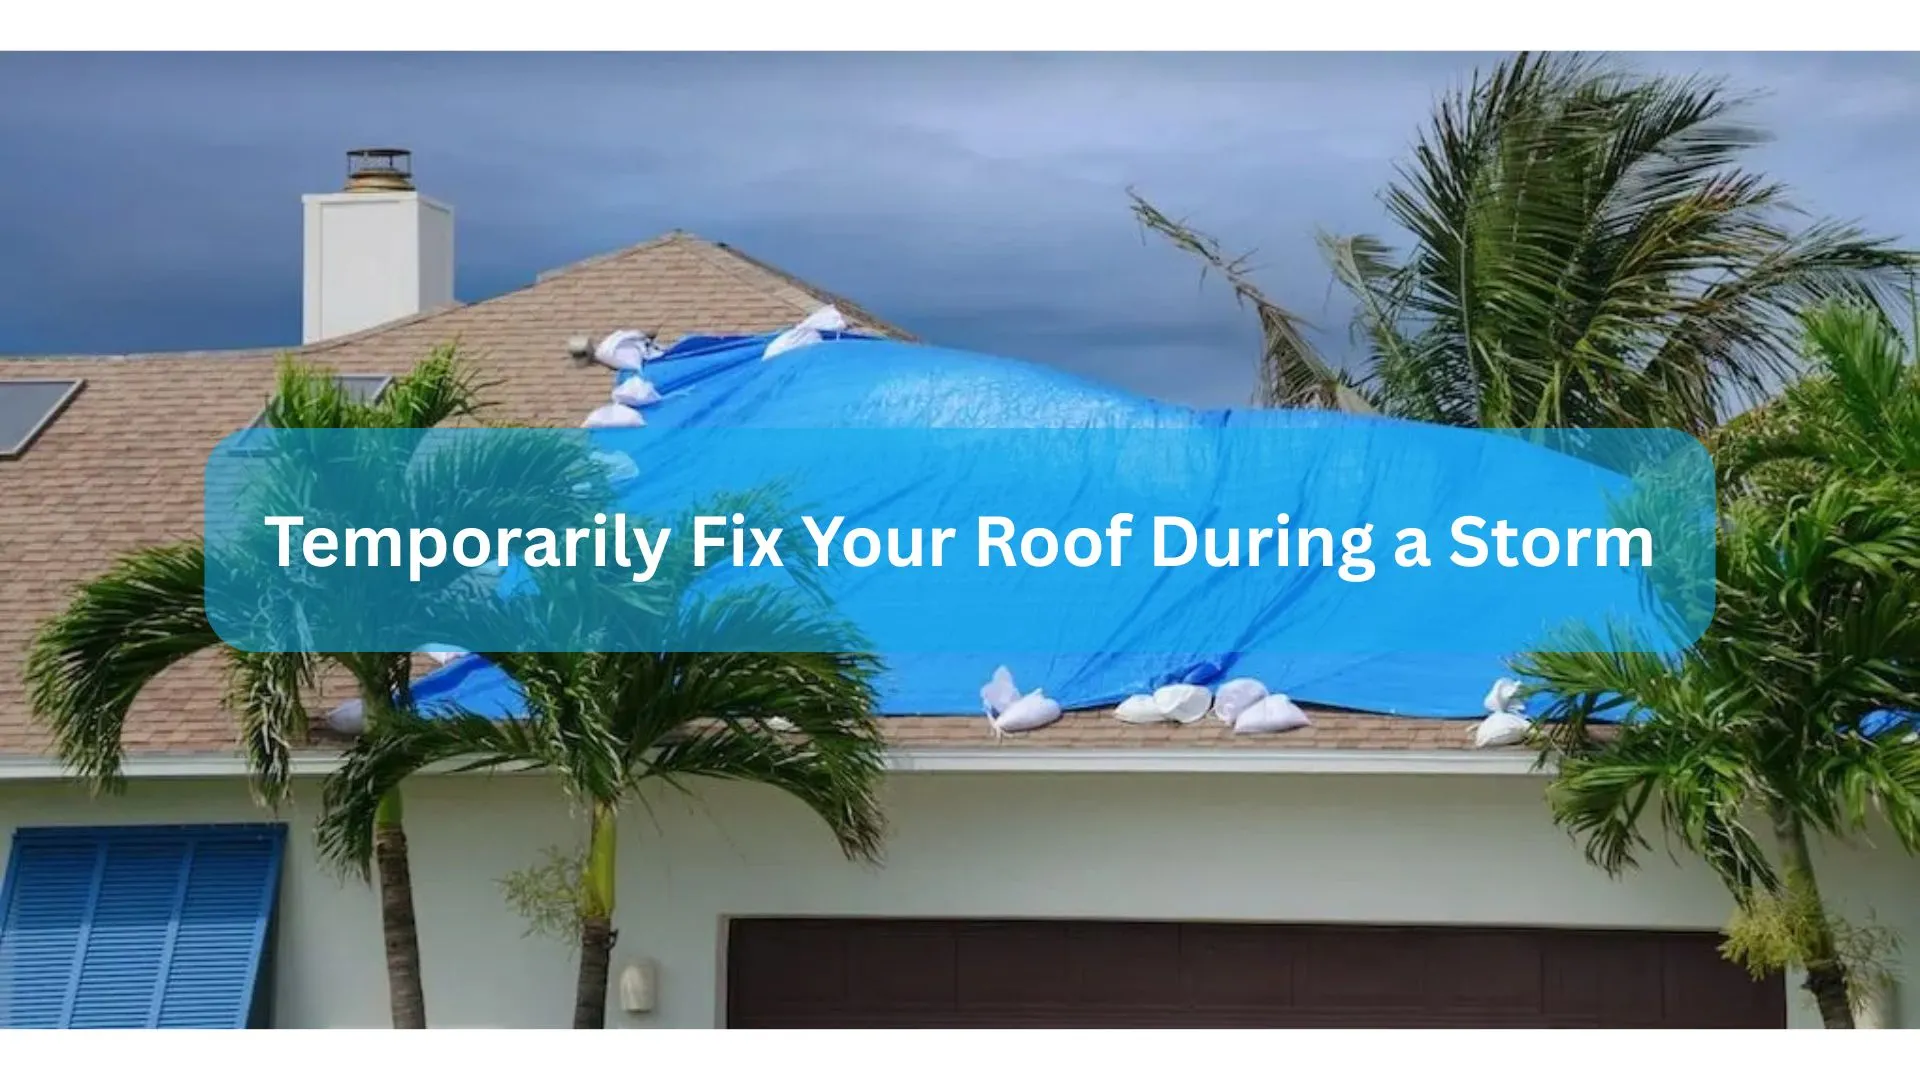
Although you shouldn’t climb onto a slippery roof during a storm, securing a tarp over the damaged area is crucial once conditions permit. Choose a heavy-duty tarp oversized by at least 3 feet in all directions. From inside the attic, mark the leakage point, then roll the tarp out over the roof so it covers and protects from rain. Secure the top edge under the ridge board or screw it down above the leak. Lay sandbags, bricks, or weighted boards along the bottom to hold it tight—avoid random nailing, as that could worsen damage . To bolster waterproofing, run roofing cement or sealant around all edges and fastener points. Smooth out wrinkles to prevent pooling and recheck after each strong gust. While it’s not a permanent fix, this shelter shields your roof from further harm.
4. Patch What You Can—Quick Fixes for Small Leaks
If you spot specific leaks, here’s how to temporarily secure them until pros arrive:
- Loose shingles: Gently lift the edges, apply roofing cement underneath, press firmly, and seal nails with cement to prevent small water entry points
- Missing shingles: Slide new shingles beneath the row above, nail securely, and apply cement around edges. This reduces exposure and buys you time .
- Exposed nails: A dab of black jack caulk over each nailhead offers immediate waterproofing
- Flashing issues: Around chimneys and vents, roofing or duct tape can act as a short-term guard—just ensure the area is as dry as possible beforehand
These fixes aren’t solutions—but they help control leaks until a full repair is possible.
5. Clean Gutters and Downspouts—Essential Step
Water backing up in gutters often worsens roof leaks. Put on gloves and safely use a ladder to clear leaves, twigs, and debris. Then flush the gutters with a hose to confirm unrestricted water flow. If runoff accumulates near your foundation, add downspout extenders or splash blocks. Proper drainage leads water safely away from your home’s structure
6. Keep a Ready Emergency Roof Kit
Being prepared is key. Here’s what you should store in a waterproof bin in your garage:
- Two sizes of heavy-duty tarps
- Roofing nails, screws, hammer or drill
- Roofing cement, caulk, roofing tape
- Spare shingles or felt
- Sandbags or 2×4 boards for securing tarps
- Putty knife, gloves, safety goggles
- Ladder, helmet, and flashlight or headlamp
Having these on hand means you can act quickly—without a last-minute scramble.
7. Know When to DIY—and When to Wait for Pros
Small fixes can help, but don’t overreach. If there are just one or two missing shingles, and your roof isn’t steep, your DIY efforts may suffice temporarily. However, if your roof feels soft, sags, or if flashing near chimneys is failing—or if you’re simply unsure—prioritize safety and contact Upgrade Home Improvements. They have the expertise and safety measures to handle complicated repairs securely
8. Document Everything—It Matters for Insurance
Meticulously tracking what happened helps you later. Take clear photos of all damage before and after your temporary repairs. Note when the storm hit, what steps you took, and which materials you used. Keep receipts for every item bought. Home insurers often look for proof that you tried to minimize damage, and this documentation strengthens your claim
9. Schedule Permanent Repairs—As Soon As It’s Safe
After the storm calms, contact Upgrade Home Improvements for a full inspection. They’ll assess whether the leak has affected shingles, underlayment, flashing, or even the roof deck. It’s also an excellent time to consider maintenance habits—like annual checks, trimming overhanging branches, and upgrading to impact-resistant materials—to prevent future emergencies. These proactive steps add peace of mind and real value to your home .
🛠️ Quick Storm-Time Summary
Safety is your first job. Then:
- Inside: Capture water, protect furniture
- Outside: Tarp over damage; patch vulnerabilities
- Interior drainage: Clean gutters, clear debris
- Document steps and expenses for possible insurance
- Evaluate your scope—call Upgrade Home Improvements when unsure
- Plan permanent repairs once weather and safety allow
Final Thought
Storms are stressful—but with some calm action, you can keep urgency from turning into a disaster. Quick, thoughtful steps, a good emergency kit, and clear documentation all bridge the gap until Upgrade Home Improvements delivers a lasting solution.